
# Style
# Applying styles
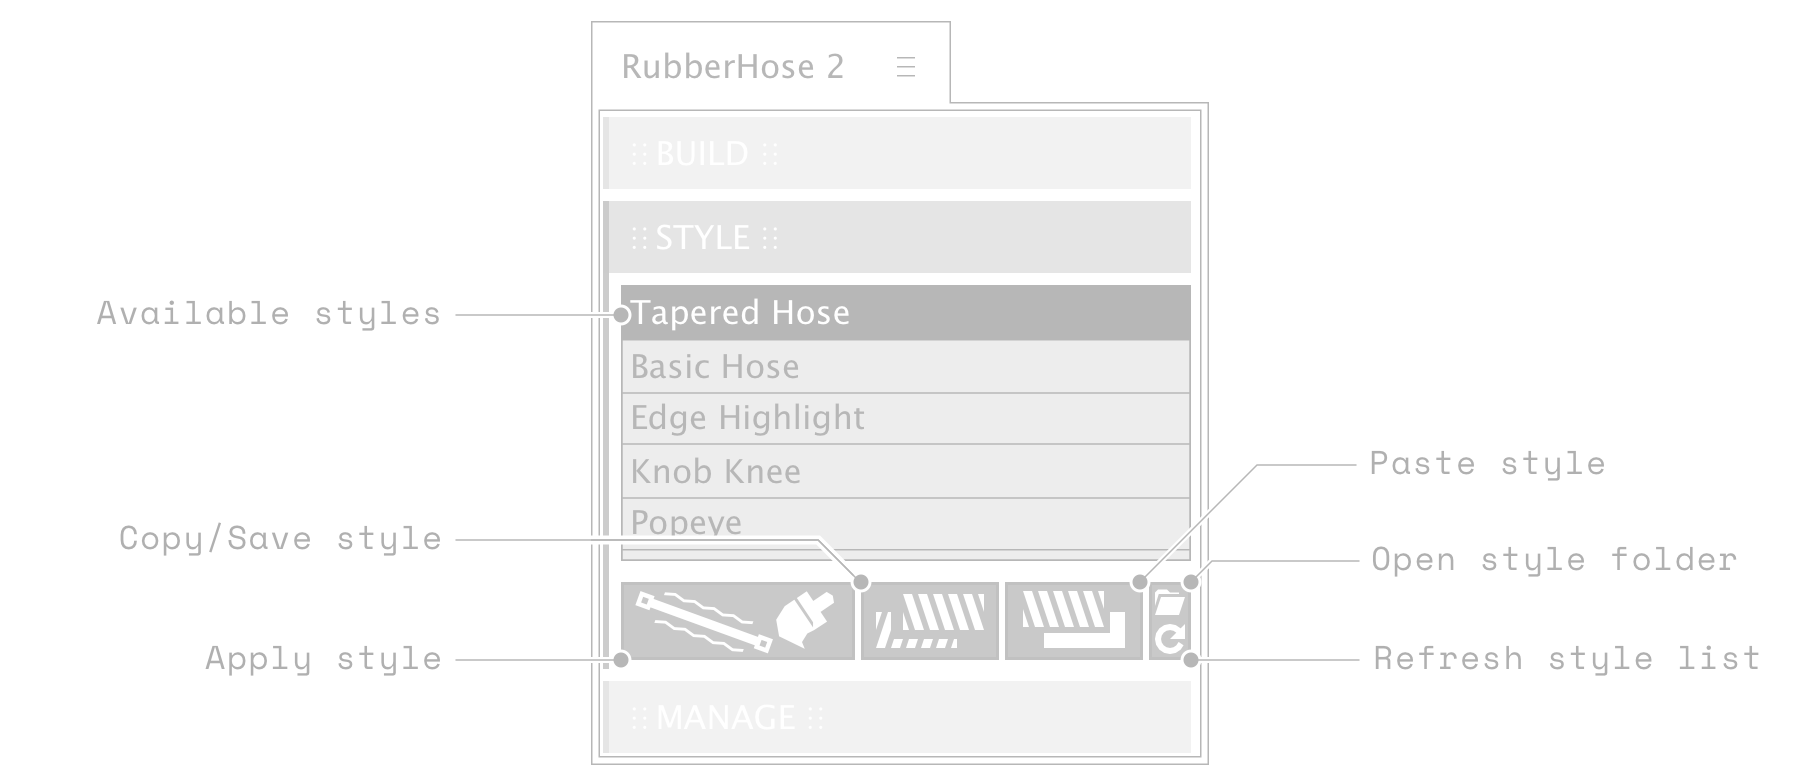
Select a layer (hose or controller) from the desired hose group, select a style from the style library, and press the Apply button. The current style will be removed and the new one applied.
# Copy/paste style
Customized styles may be saved and added to the library (see below), but the quickest way to get a style on another hose is to copy. Select a layer (hose or controller) and press Style Copy. Select a layer from the desired hose group and press Style Paste to overwrite the current style. Holding the Shift key will paste the new style to the existing without overwriting.
# Saving styles
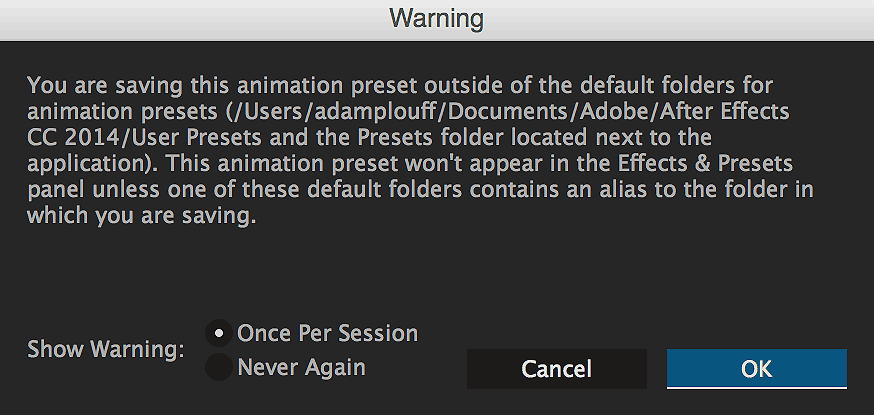
Select a layer (hose or controller) that belongs to the style you would like to save. Hold ALT and click the Copy Style button. A file save dialog will popup. Save the file to your desktop or somewhere easy to locate. When you press Save you will likely be presented with a similar warning about the save location being outside of the default. AE just wants you to know that the preset won't be available in the Effects & Presets panel. We don't want it there so click OK to ignore this error.
# Installing a style
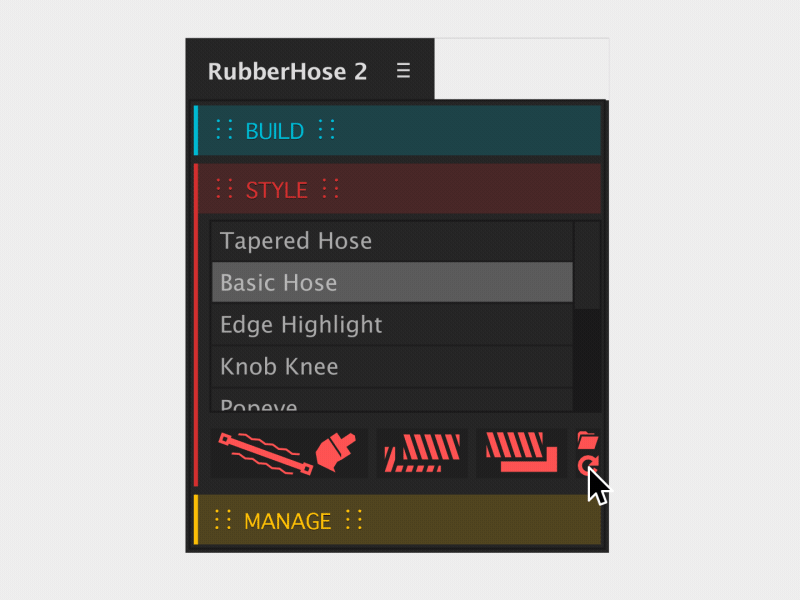
Whether you created and saved your own Style Preset or downloaded on for another user, the installation is the same. Click the small folder button to open the Styles folder. Drag or copy the desired file into the folder. In order to update the library list in the RubberHose 2 script panel click the Refresh button. The list will update and you can apply your new styles all day long.
# Included styles
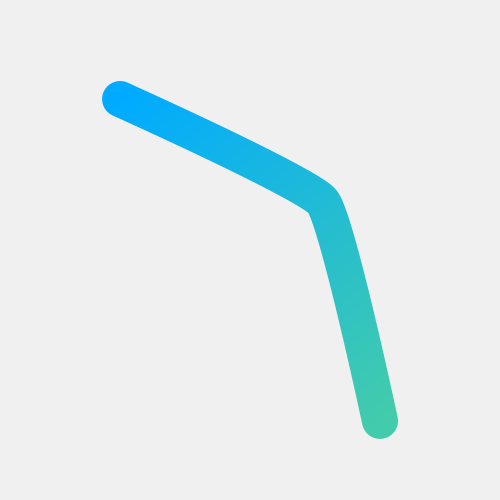
Tapered hose
The most requested feature in RubberHose history. The Tapered Hose is the simple way to add shape variety to arms and legs. The fat end may be shifted by to the opposite end with a negative value in Taper %.
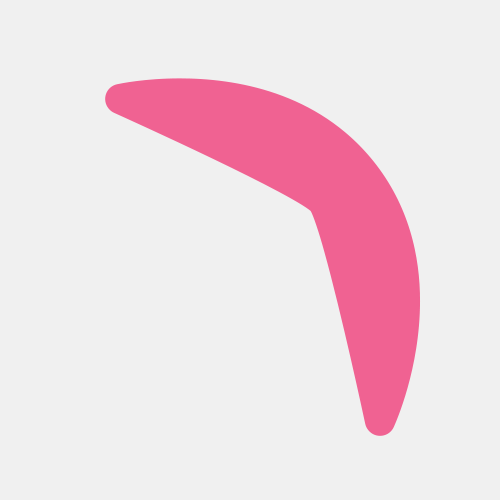
Tapered hose 2020
Since its release in 2017, RubberHose 2 has done its best to create tapered hoses with a lot of weird workarounds. It ran slow and was unable to create the contrast of thick to thin that so many animators were looking for.
Basic hose
Standard hose that is created by default. Sometimes you need to reset everything.
Edge highlight
Highlight created with an Offset Paths, Trim Paths, and Dashed Stroke. Highlight dashes may be customized.
Finger nail
Tap on those rectangle devices without any extra layers. Adjust the location of the fingernail and it follows the animation. Nail and finger colors are changed with the hose Fill as Stroke colors.
Gradient
Simple gradient, complex gradient, that's up to you. The age of the single color hose is over thanks to the almighty Kyle Martinez. The ends of a gradient track to the controller points and colors may be added as needed.
Popeye
For you youngsters who do not know, Popeye was this super strong dude who got hype on some spinach and had weird looking arms. This one is named after him. Inspired by cool stuff from Simon Tibbs.
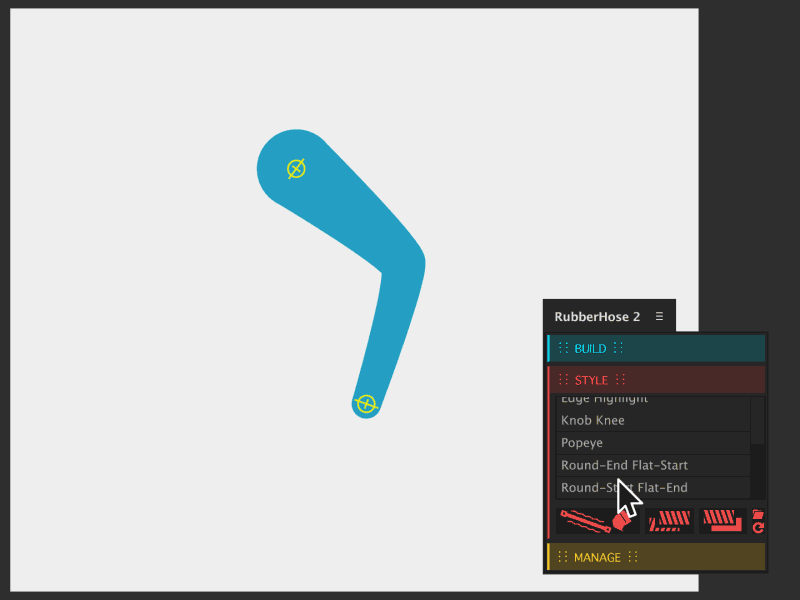
Flat / round
Single layer hoses must be either Round or Flat ended. Sometimes you need pants or shorts and now that's easy. Remember, styles can be layered by holding ALT/Opt and clicking Apply.
Round / flat
The exact same as Round-Start Flat-End, but in reverse
Tight pants
Based on the Tapered Hose style with some extra controls to create a layered pants effect. The length of the pants can be shortened to create shorts.
Track suit
Break it up, break it up, break it up, break down.
TwoTone
Simple hose shape with additional color styling. The color variation is created by two layers of the same color and a Color Dodge blend mode. Manual adjustment is all you chief.
TwoTone dash
Stylistic alternate of TwoTone.
# Tips
# Factory reset
Know that before resetting the script and all of its settings, that all style presets will also be reset to the factory default. Be sure to save a copy of custom styles before resetting.
# Version compatibility
Be aware that when saving presets for sharing with others the Ae version you are currently using from will be the lowest version that may apply the preset. To save a CC2020 style for use with users on CC2019, you will first have to (File>Save As>Save a Copy as [lower version]…). Open the newly saved project file then repeat the Style Preset saving process inside of the lower version.
# Locked hose
Styles may still be applied to hose layers that are locked. This is helpful if you enable Lock Hose at Creation in the script settings (to avoid accidental selection when animating).